By using the right configurations and settings, you can set up an iCloud email account on Microsoft Outlook. On this page, you will find the step-by-step approach to complete iCloud email settings for Outlook. With the help of these steps, you can now start sending and receiving email messages from your iCloud email account on Microsoft Outlook. So, without wasting any single minute, try this tutorial.
Set Up an iCloud Email Account on Outlook
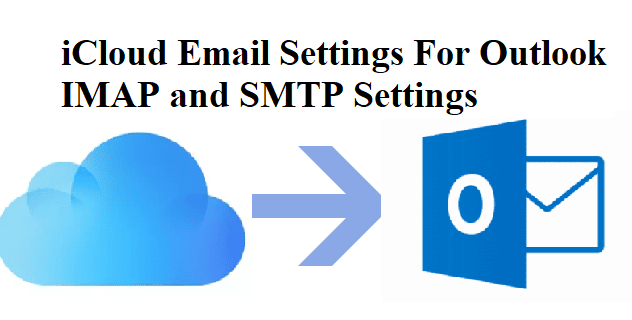
| Server Settings | iCloud IMAP Settings | iCloud SMTP Settings |
| Server Address | imap.mail.me.com | smtp.mail.me.com |
| Username | Your full iCloud Address (e.g. [email protected]) | Your full iCloud Address (e.g. [email protected]) |
| Password | Your iCloud Password | Your iCloud Password |
| Port Number | 993 | 587 |
| Security | SSL/ TLS | STARTTLS |
| SSL Required | Yes | Yes |
| Authentication | Required | Required |
Follow the procedures and configurations:
- Open the Microsoft Outlook program on your pc/laptop.
- Explore File menu and click on Add Account from the navigation tool.
- On the Add Account wizard, tap on the tick button available for Manual setup or additional server types.
- In the next step, choose the POP or IMAP service to proceed into the next step.
- After this, enter your Name and iCloud email address in the available screen.
- From the Account Type window, choose IMAP.
- In the Incoming mail server, put the information input: mail.me.com
- And in the Outgoing mail server, put the information input: mail.me.com.
- At the Login Information window, input your iCloud username and password in the asked field.
- In the next step, put a check mark on Remember password tab and then go to Require logon using Secure Password Authentication (SPA).
- Tap More Settings, and on the General tab, input the name of your account.
- You will be prompted to the Outgoing Server tab, where you will need to put check mark on My outgoing server (SMTP) requires authentication.
- After this, on the same Outgoing Server tab, check the tick mark for Use same settings as incoming mail server.
- On the Advanced window, enter 993 on Incoming server (IMAP) then select an SSL connection from the drop-down box.
- Now, enter 587 on Outgoing server (SMTP) then select Auto connection from the drop-down box. And then, click on Ok when the process has been done.
- Tap Next to test the settings and configurations. Click on Close.
- You are all set to use iCloud account on Outlook.
- To check whether the changed settings are workings properly send a test mail message to ensure that your email is working successfully.
Use the information and steps as mentioned above and enter iCloud Email Settings to access your iCloud account on Outlook.